
.png "import hatch patterns autocad lt 2007")
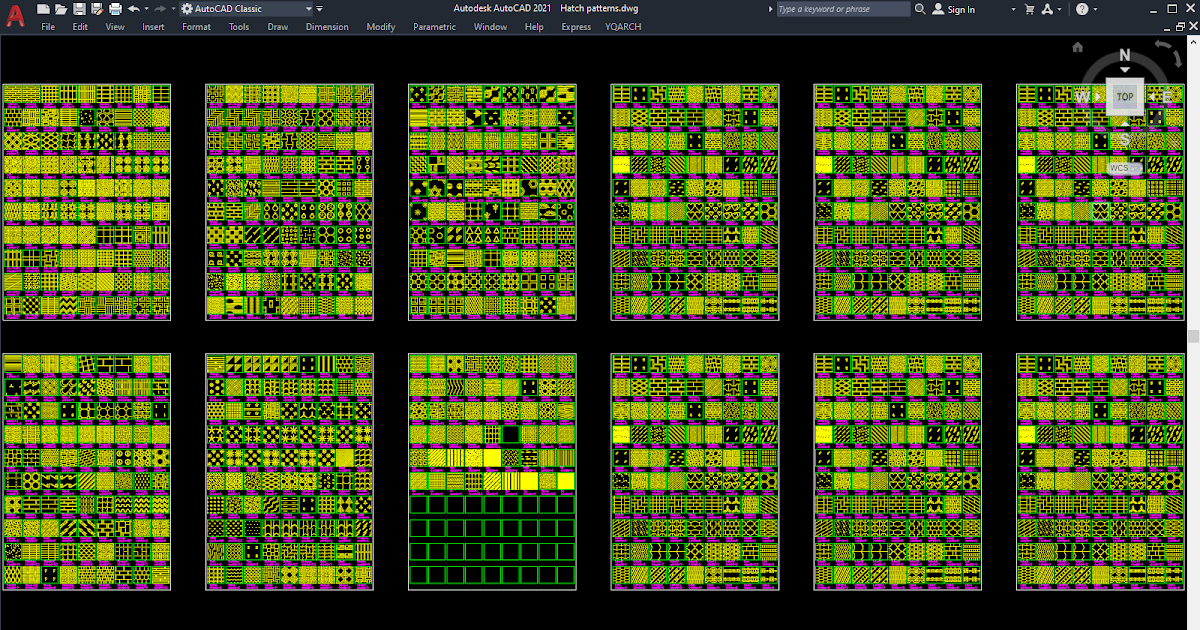
Line: Use to draw a line in the hatch pattern tile.Select: Use to select an existing element of the hatch pattern.As you draw your hatch pattern, the lower-left field will preview it for you. The grid in the lower-right corner represents one hatch tile in which you can draw the desired pattern using lines and/or dots. Select the new hatch pattern and edit it using the New Pattern controls, as desired.The Hatch Pattern Editor reappears with the new hatch pattern listed. Enter a name for this hatch pattern in the Name field and click OK.The Add Hatch Pattern dialog box appears. Select the desired hatch pattern set and click Modify. To create a new hatch pattern in an existing set: Revu comes preloaded with several default hatch patterns, but if desired you can create a variety of custom patterns to suit nearly any need. Hatch patterns can be used to fill enclosed markups and measurements. Discard the PDF created for this procedure.See Creating a New Hatch Pattern in an Existing Set below (skip to step 6). At this point, you can add hatch patterns to the hatch pattern set, if desired.

For more information about choosing between Relative or Full Paths, see Understanding Relative vs Full Paths.Ĭlick OK. To save the full path instead, uncheck this box. To save the location of this hatch pattern set relative to your current Profile, select Relative Path.


 0 kommentar(er)
